Today we are going to learn a simple way to can your own beer or soda at home with an All American Manual Flywheel Can Sealer. With this manual can sealer you can use 12oz and 16oz sized cans to seal your liquid of choice. This canning machine is designed with simplicity and low maintenance in mind, the Home Beer Canning Sealer is known for its durability and dependability. Easy to configure, and light by comparison to heavier electric alternatives, this useful tool is portable and easy to setup anywhere. Preserve your brew using this trusted can sealer.

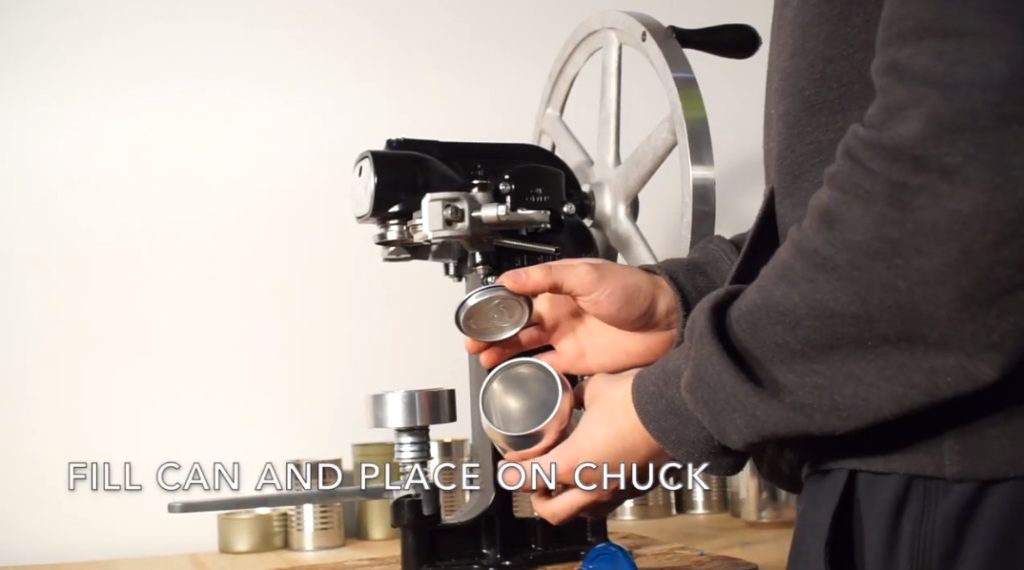
Step 1: Fill empty can with liquid and place on the machines chuck
Once you have your can filled, loosely place the lid on top and line it up on the machines chuck. This is the first step to having delicious home canned beer that looks professionally packaged.
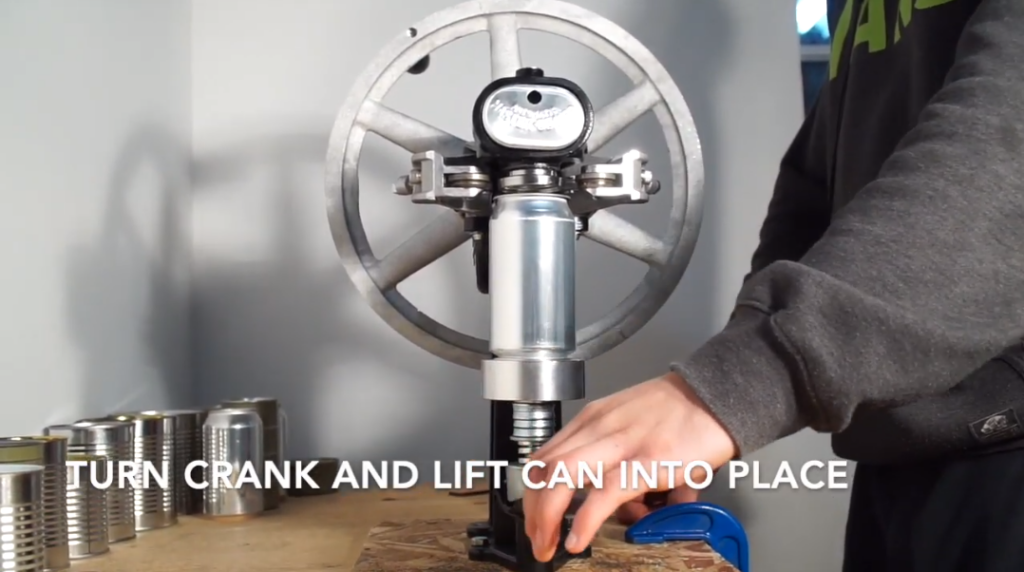
Step 2: Turn crank and lift the can into place.
This will lift the can into position and fit it securely in the can sealer. Ensure there is tension, but not enough to crush the can. You will see the spring on the bottom compress with tension to ensure you don’t crush the can.
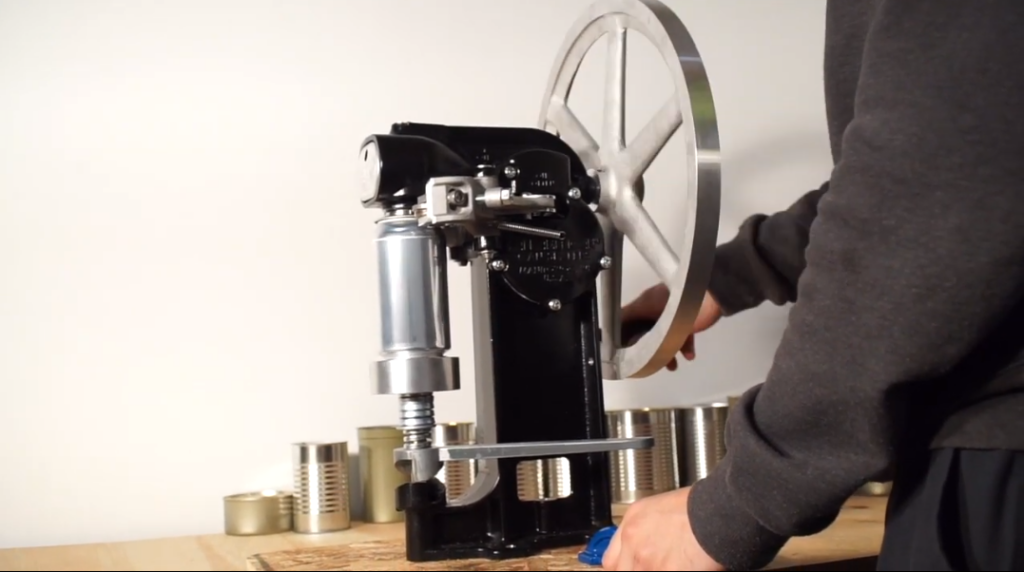
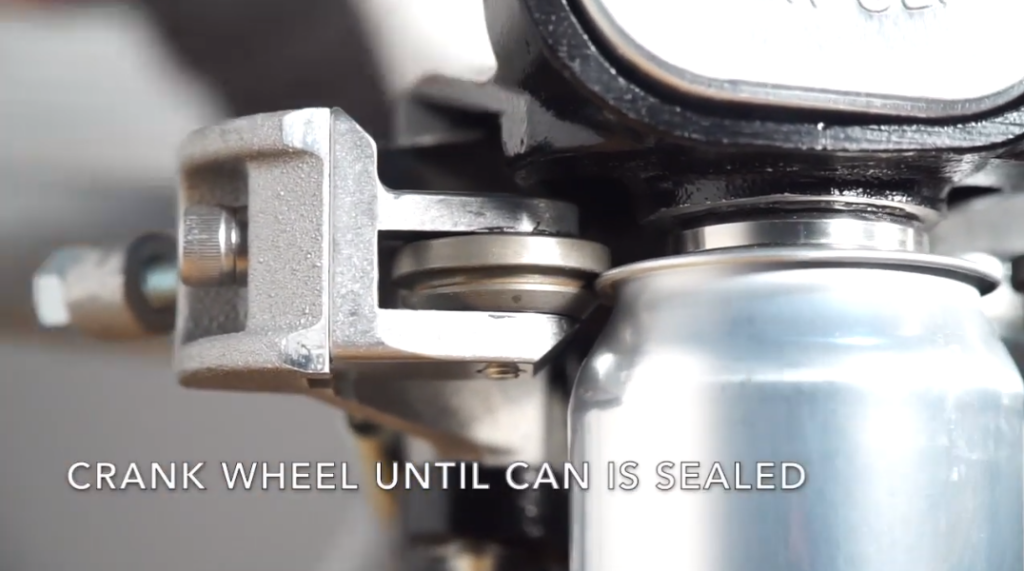
Step 3: Crank wheel until can is sealed
Begin cranking the flywheel until the can is fully sealed. You will see both seaming rollers work one after another as the can becomes sealed.
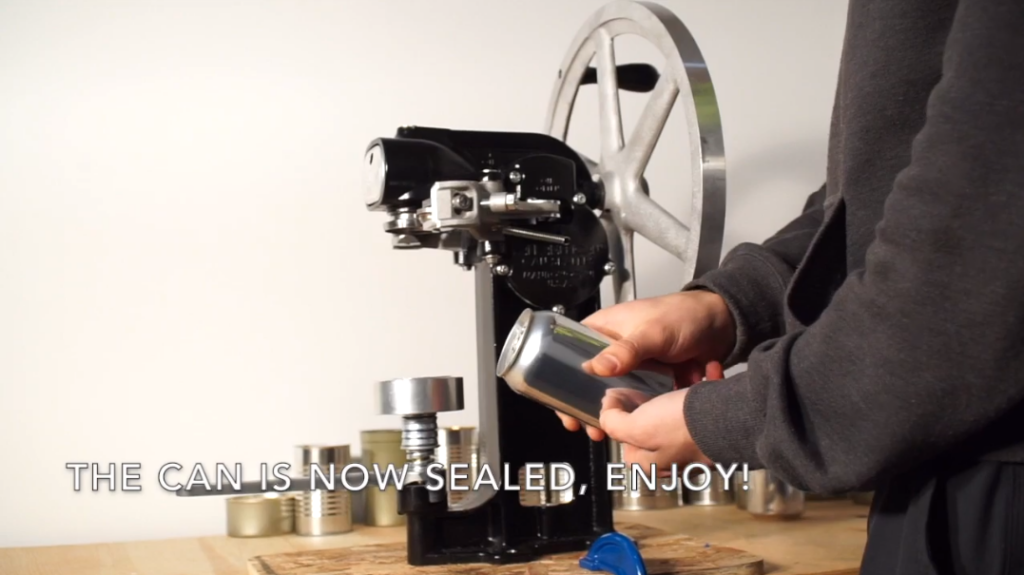
The can is now sealed!
Your can is now sealed and ready for consumption. This was completed with no electricity and only a few moments to have a professional looking can.
Thanks for checking out this guide on how to can your beer at home. If you’d like to purchase the cans or machine shown in this video, head over to Wells Can.
