How to calibrate your Ives Way Manual Can Sealer
Once in a while while using your Ives Way Can Sealer, you may need to adjust the seaming rollers to ensure proper a perfect seal on your tuna cans. In this tutorial you will learn how to calibrate your Ives Way Manual Can Sealer in a few simple steps.
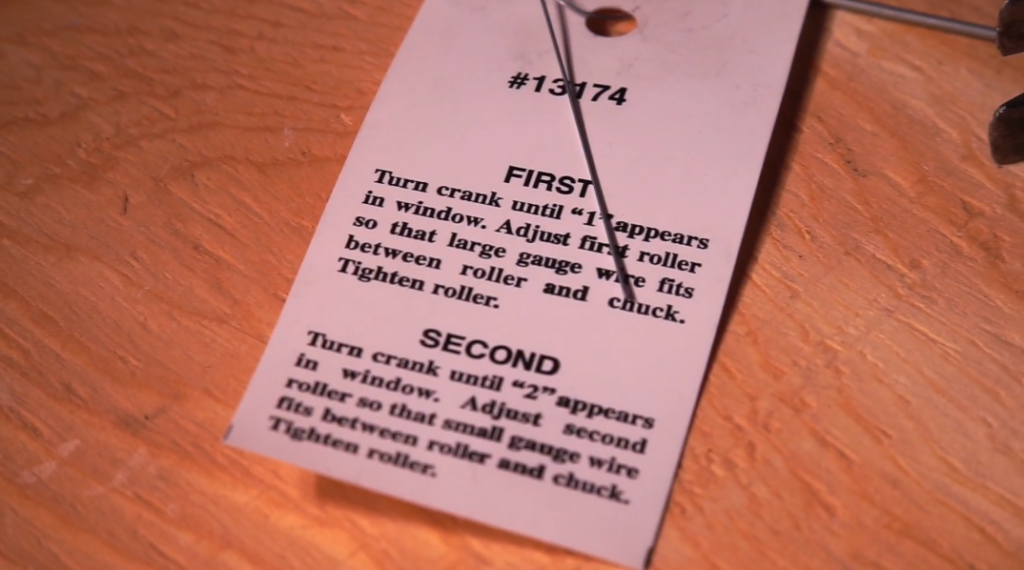
Included instructions
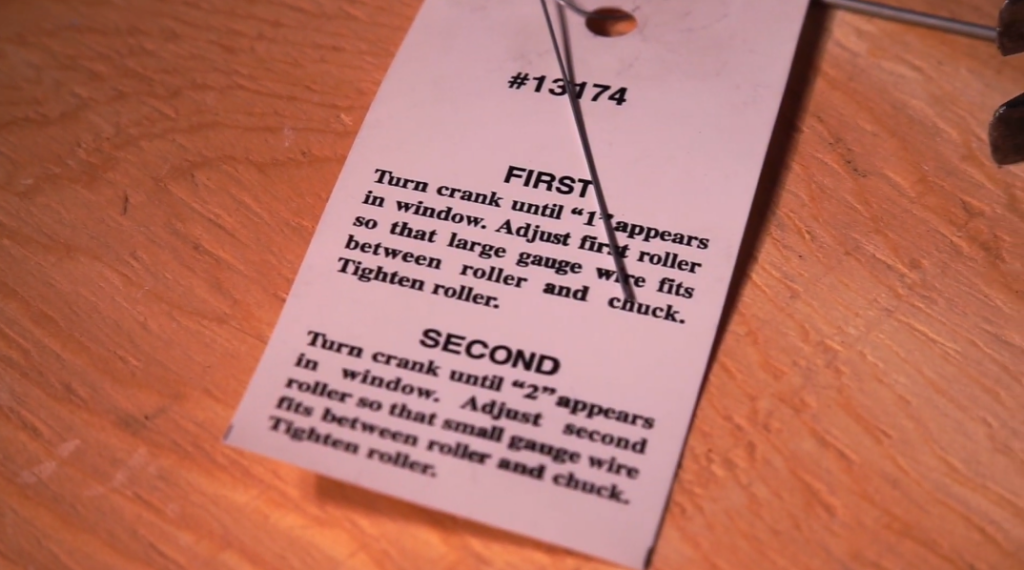
As per the instructions on the calibration wires: “you will turn the crank until “1” appears in the window. Adjust first roller so that large gauge wire firs between rollers and chuck. After that is complete, you will then tighten the roller. “
Starting position
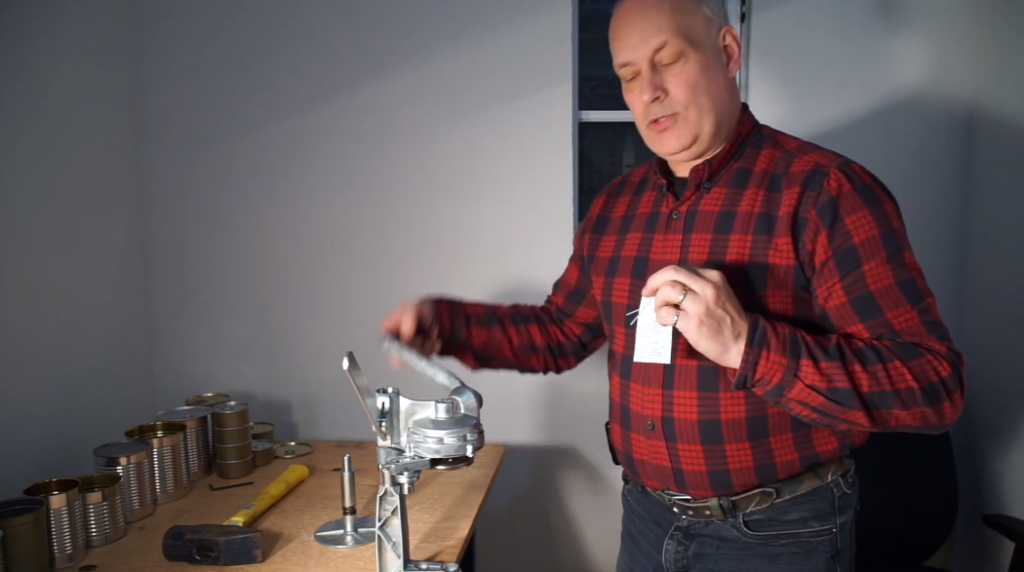
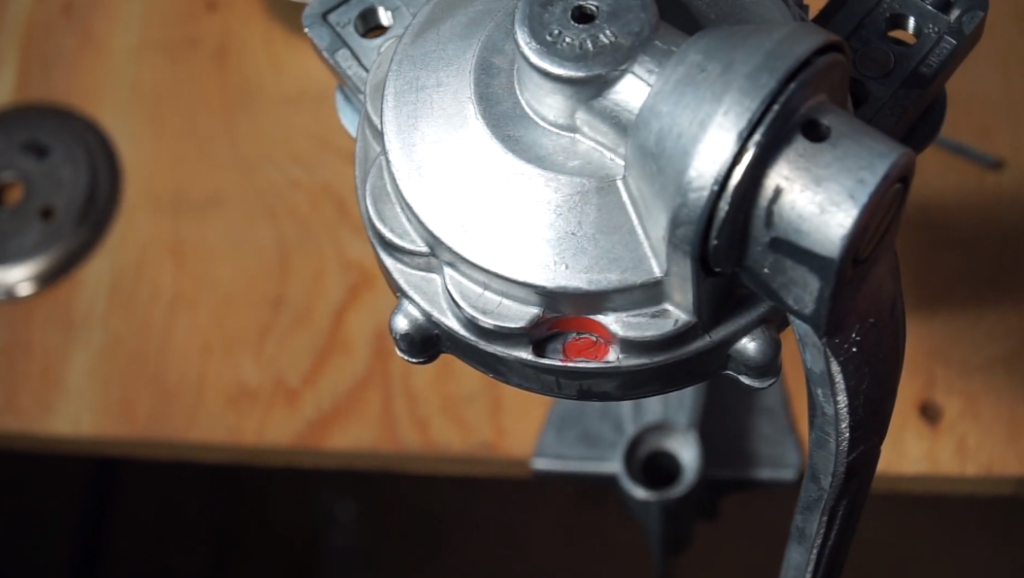
Turn the crank clockwise until the number one appears in the window on the can sealer. This will be the starting position for calibration.
First seaming roller calibration
The first roller we will calibrate is the first seaming roller (located on the right side of the machine). Simply slide the thick calibration wire along the groove in the first seaming roller
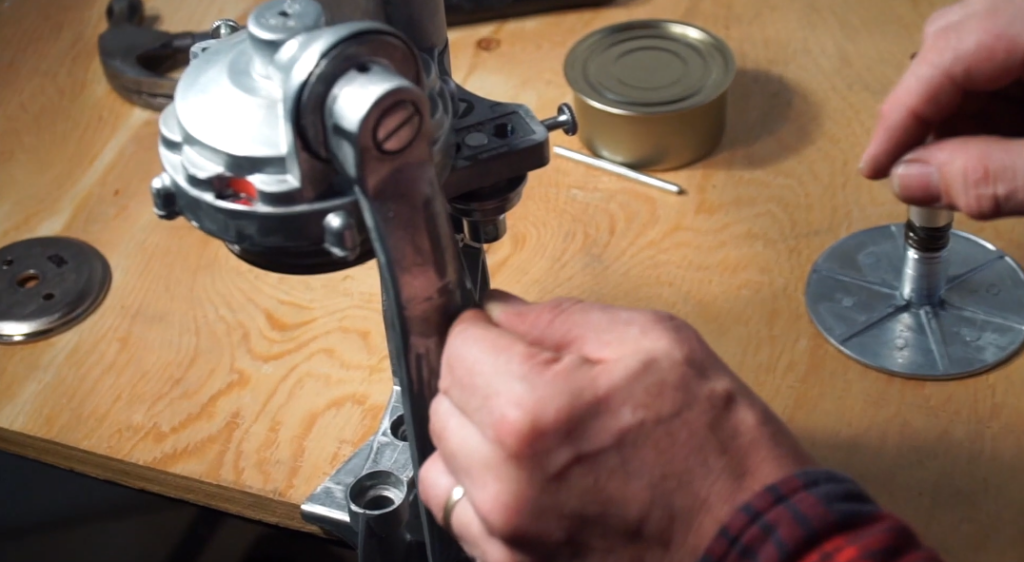
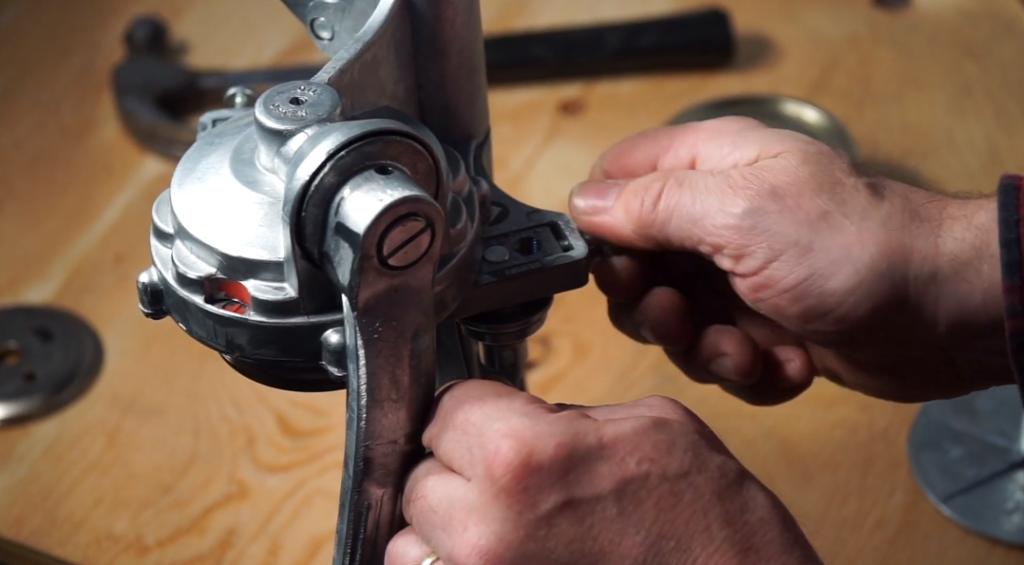
Now turn the thumb screw until the calibration wire are held snug and then give the thumb screw another quarter turn. This will apply the correct amount of tension for the first seaming roller. Once that is complete, use a metal pin to tighten the first seaming roller back up.
Second step
As per the instructions: “Turn crank until “2” appears in window. Adjust second roller that small gauge wire fits between roller and chuck. Tighten roller”. Much like the previous step, crank the handle until you see the number 2 show up in the sealers window.
Repeat previous steps
Repeat the same steps as before but using the smaller wire gauge in this time around. The process is exactly the same for both seaming rollers, just different wire gauge sizes.
Thanks for reading our tutorial on how to calibrate an Ives Way Manual Can Sealer.
This article was written by MH.
